Images from the Color of Salt
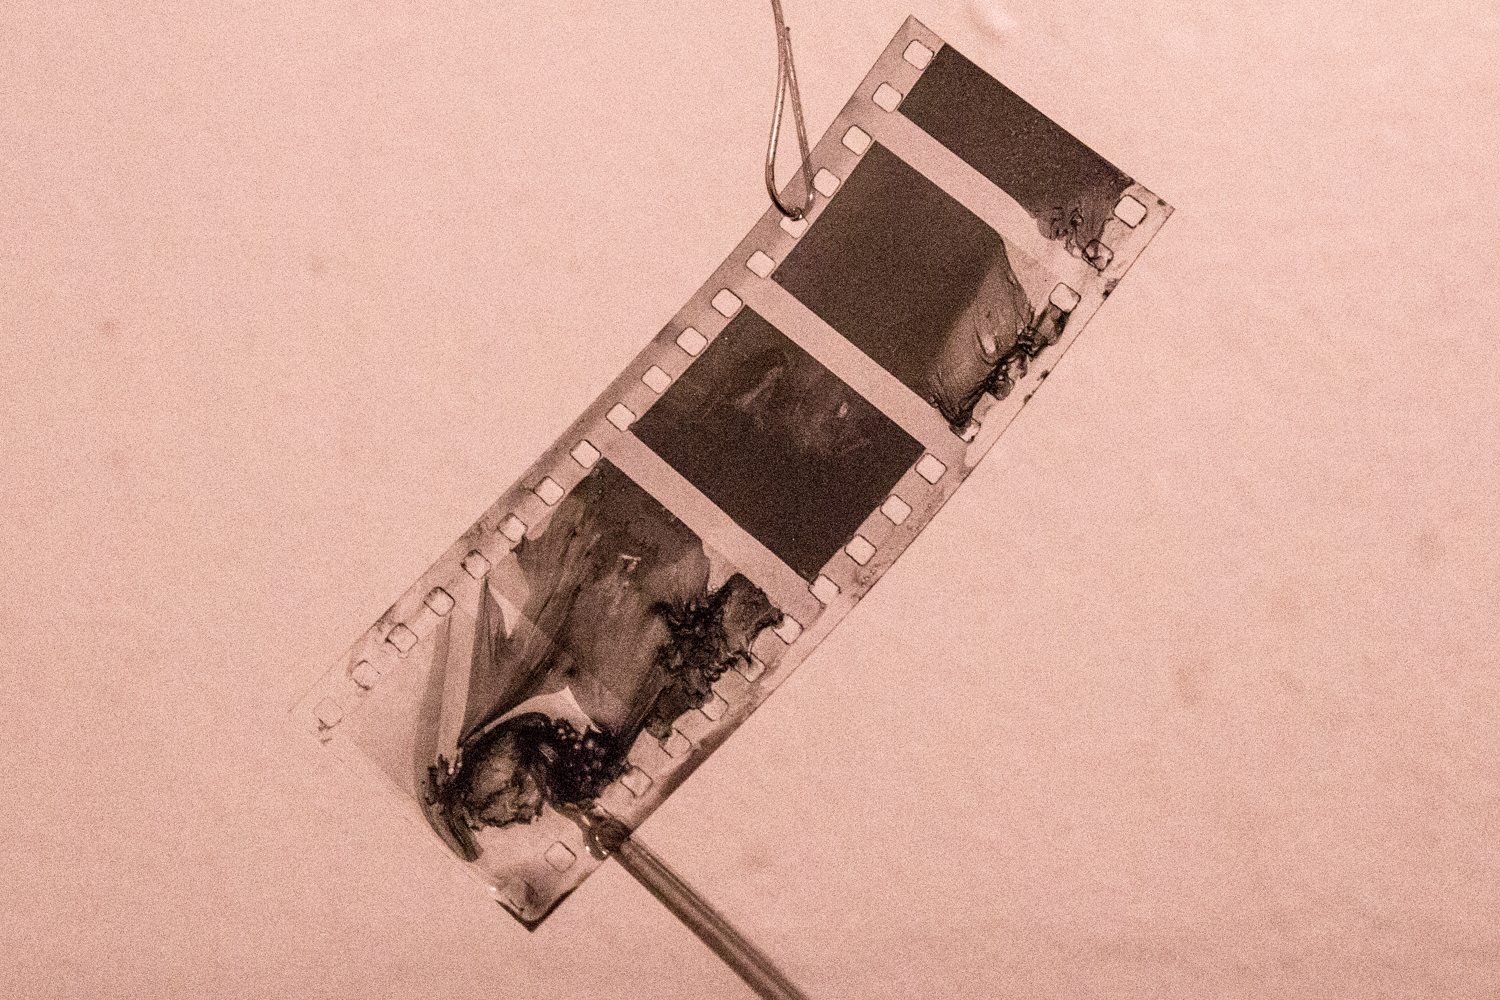
Here are a few Images from our Tinting & Toning workshop held last July, The Color of Salt. During the workshop, we found a 35mm black & white print which was used to test out tinting & toning work-flows. This was done by sampling strips from the film (roughly 12 frames per strip) and than using them to experiment with the solutions to find a “good” toning procedure. This is because every emulsion will react differently to tinters and toners, necessitating the need to experiment with and study the films reactions before defining a procedure.
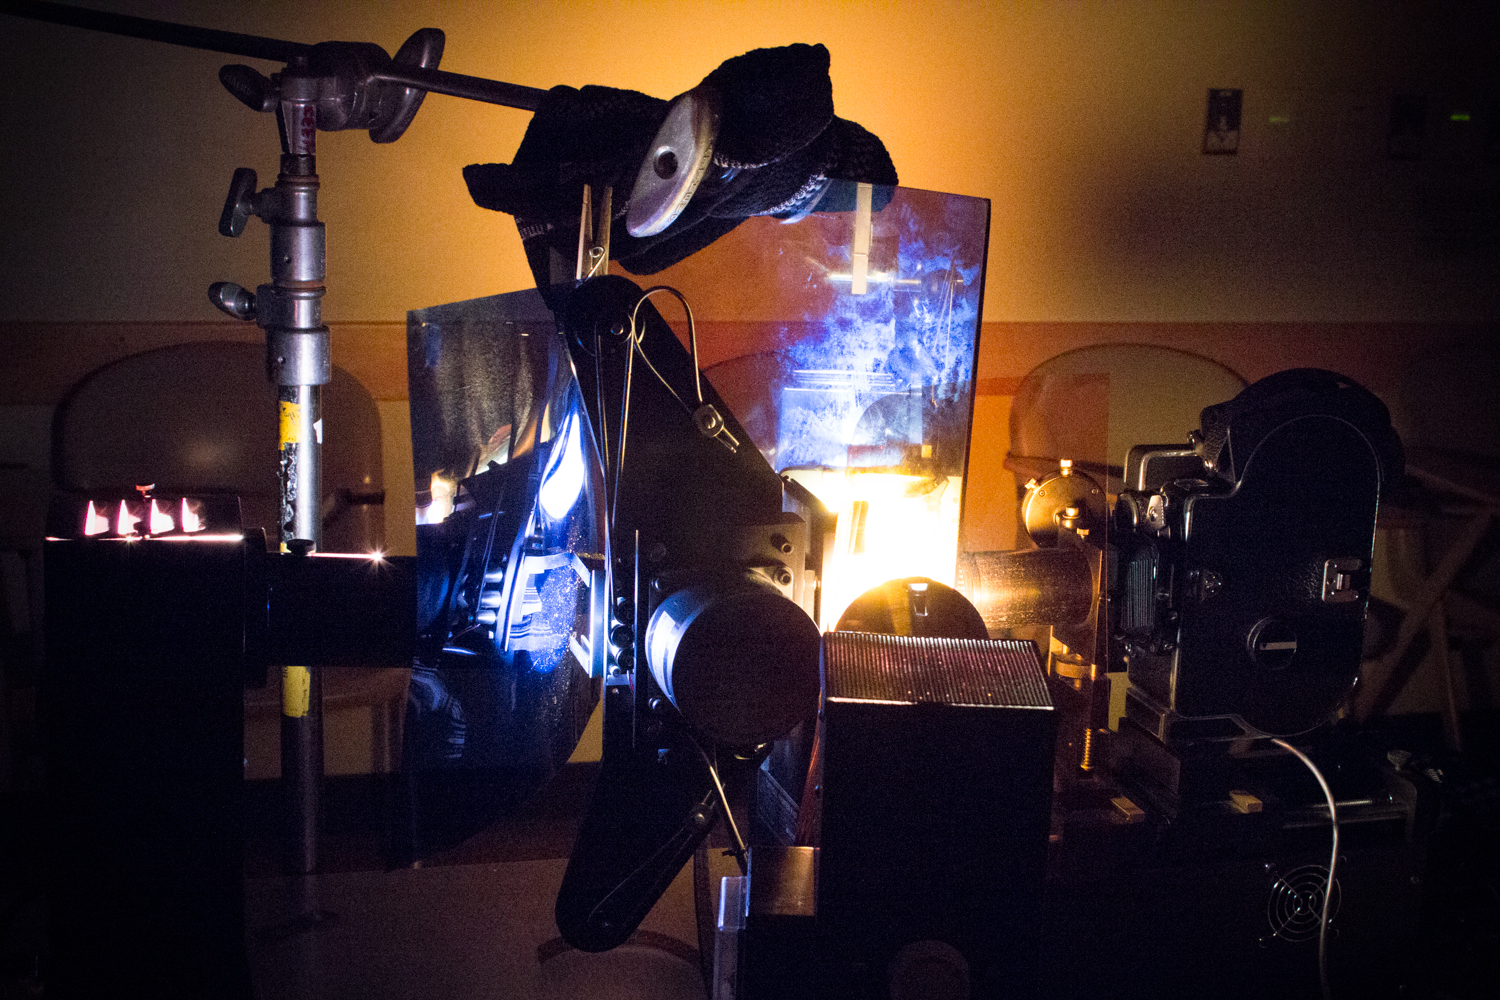
After experimenting with the solutions and testing different techniques, participants were than allowed to tone a full reel (about 50 feet) of a scene. These scenes we’re than spliced back together and projected on 35mm for the entire group. Below are some images from that reel and test strips as well as the fully composed transfer of the toned work.
Thanks to everyone who participated in this workshop!
(Note: Many of these images contained multiple tones that simply could not been draw out from their digital re-productions, necessitating film projection as the best possible form of presentation.)
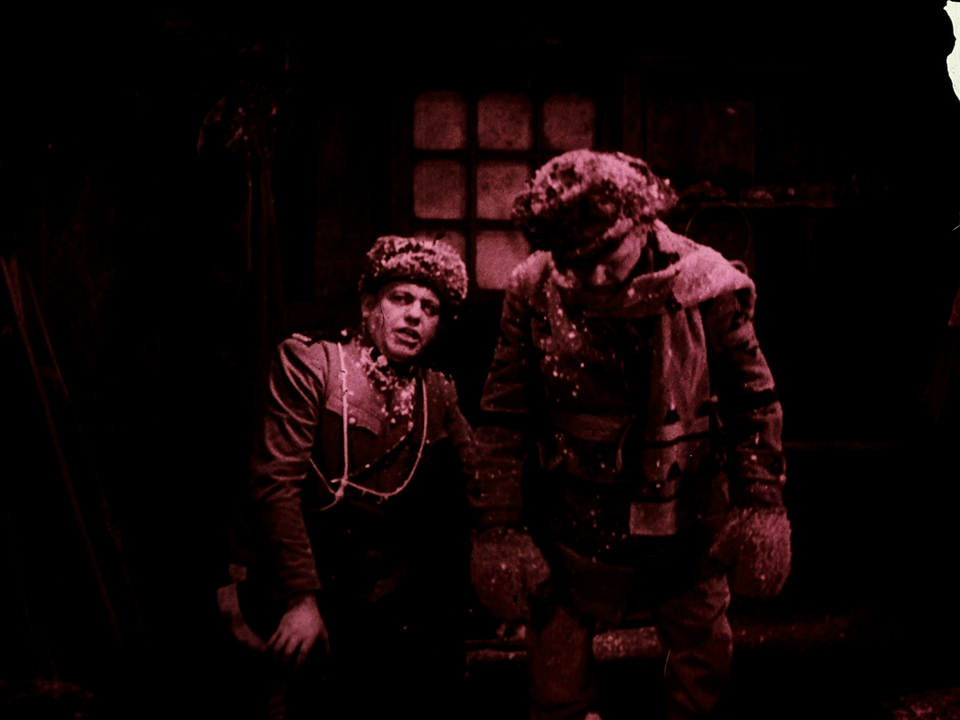
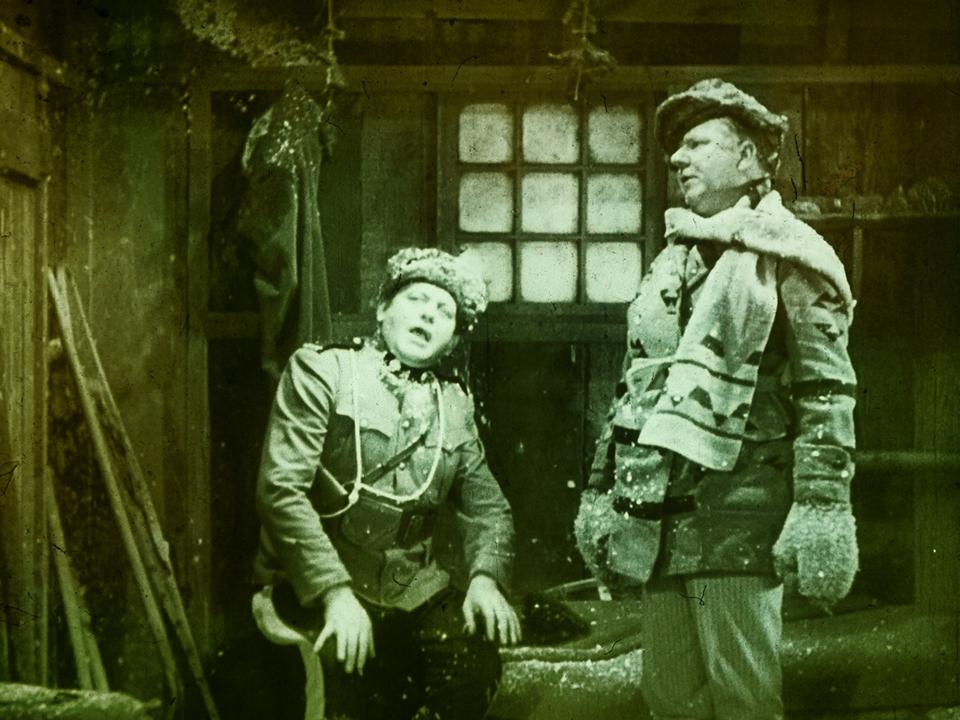
This frame is an example of how deep a tint can be rendered with dye & mordant solutions. This frame was most likely allowed to stay in the dye for an exaggerated period of time (circa 3 hours) giving it it’s strong magenta tint. If the solutions were to be mixed by hand, it is possible to get even richer tones than this.
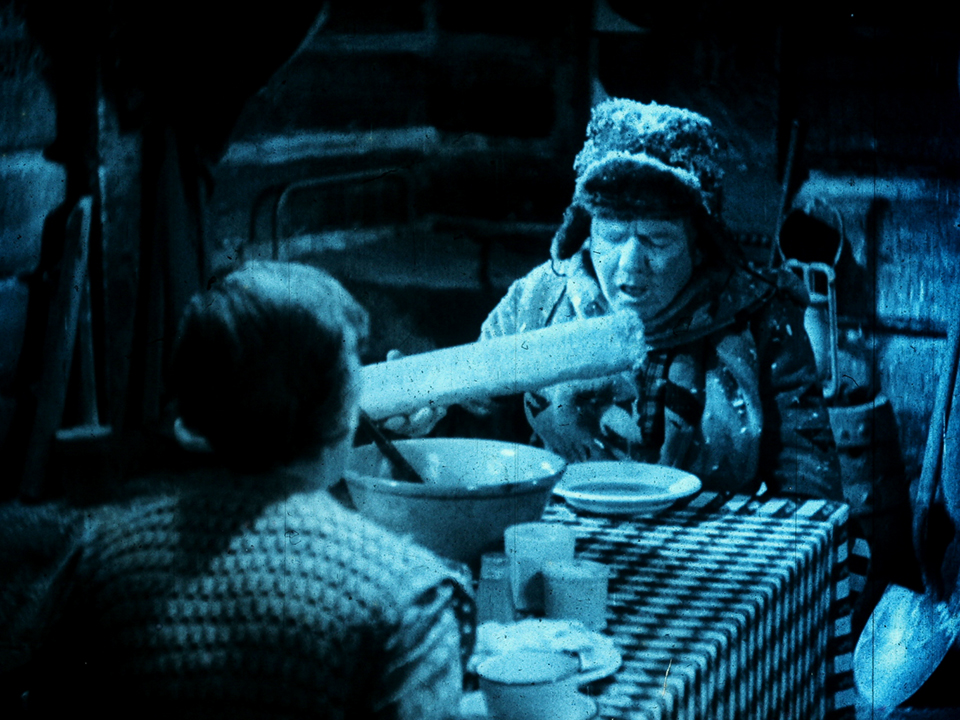
This frame is a good example of deep Iron toning without compromising the integrity of the emulsion. Additionally, their is slight evidence of duo-toning in the green cast found along some of the shadows.
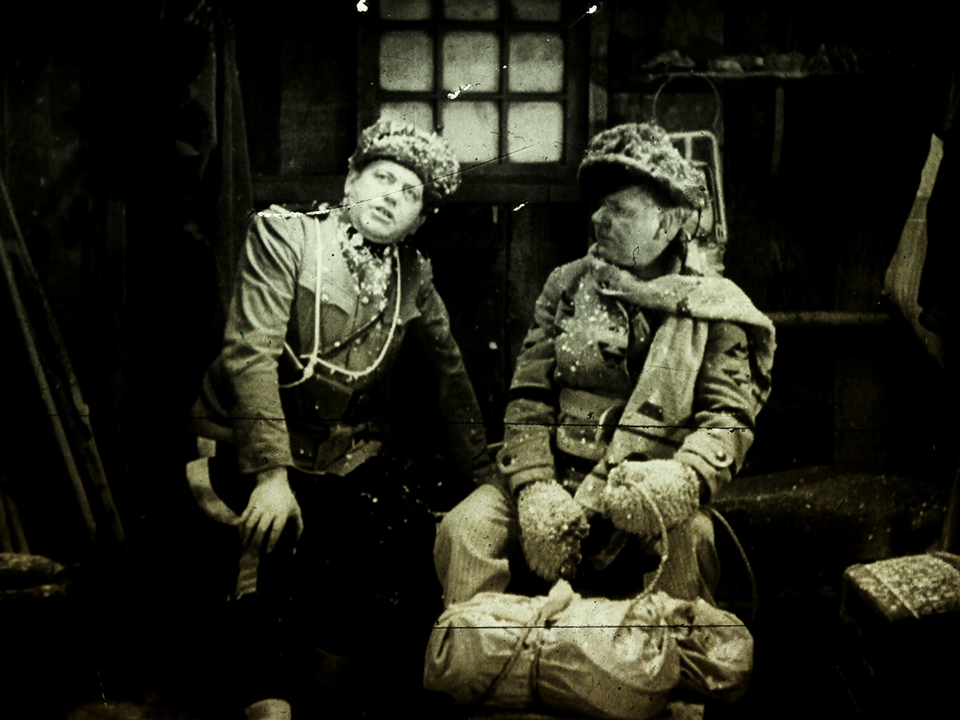
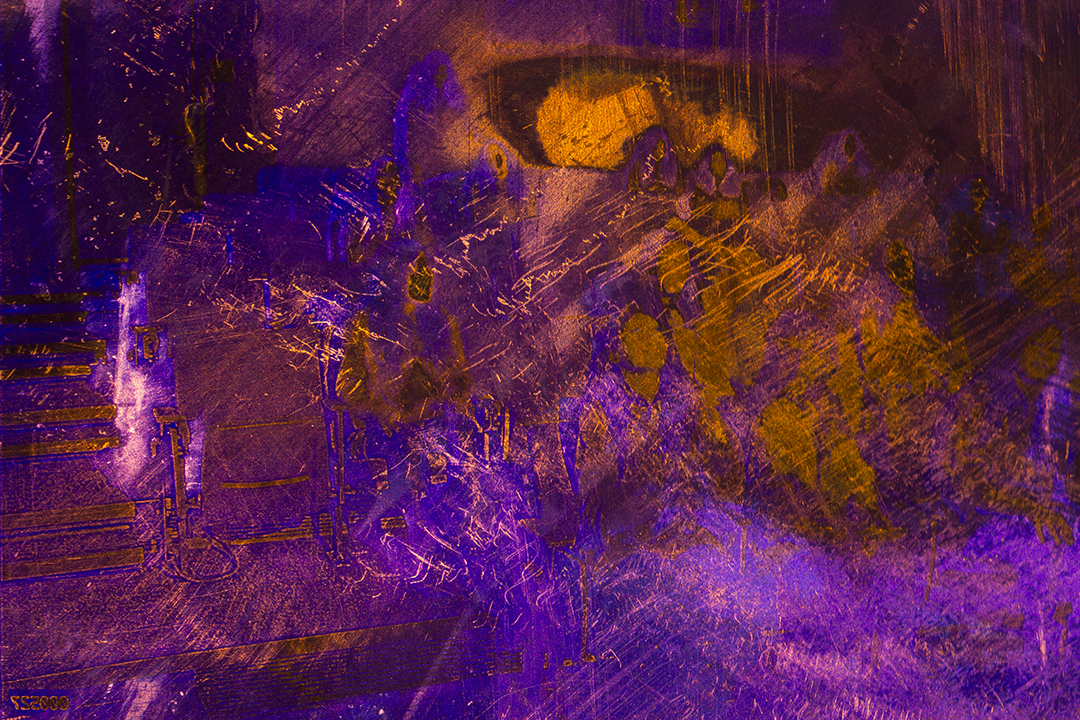
This is a good example of duo-toning: The highlights are a cool blue (iron toned) while the shadows fall towards a subtle warm tone (silver-sulfide). The midtones, as a result, form a grey-green cast…
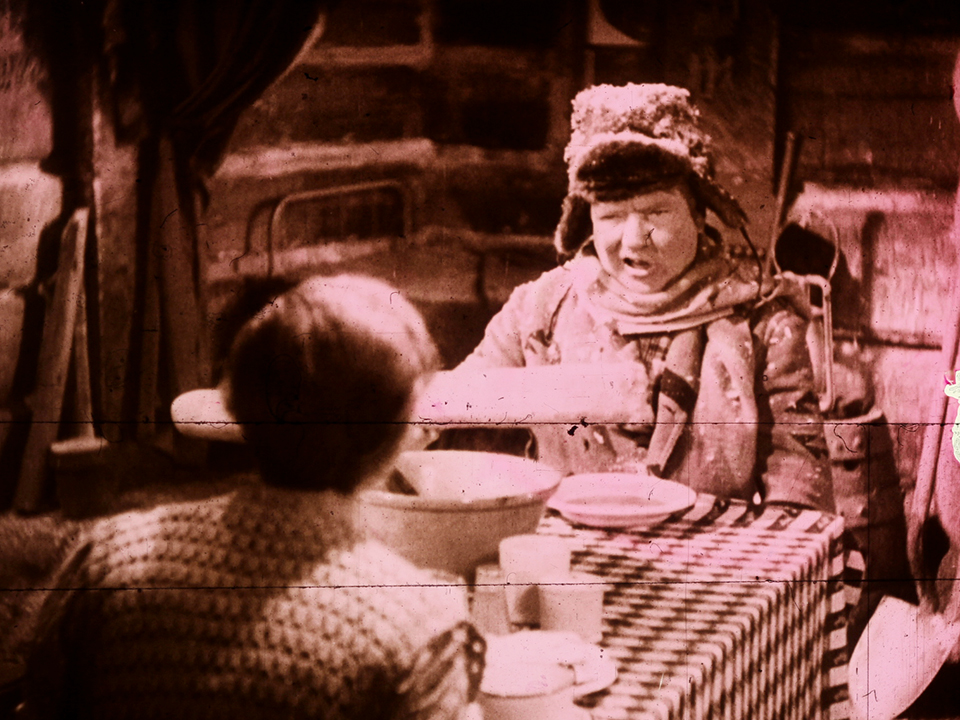
This frame is also a fairly good example of duo-toning: The shadows are comprised of silver-sulfide grains (as you can see by yellow edges surrounding denser regions) where as our highlights are composed of a magenta tint.
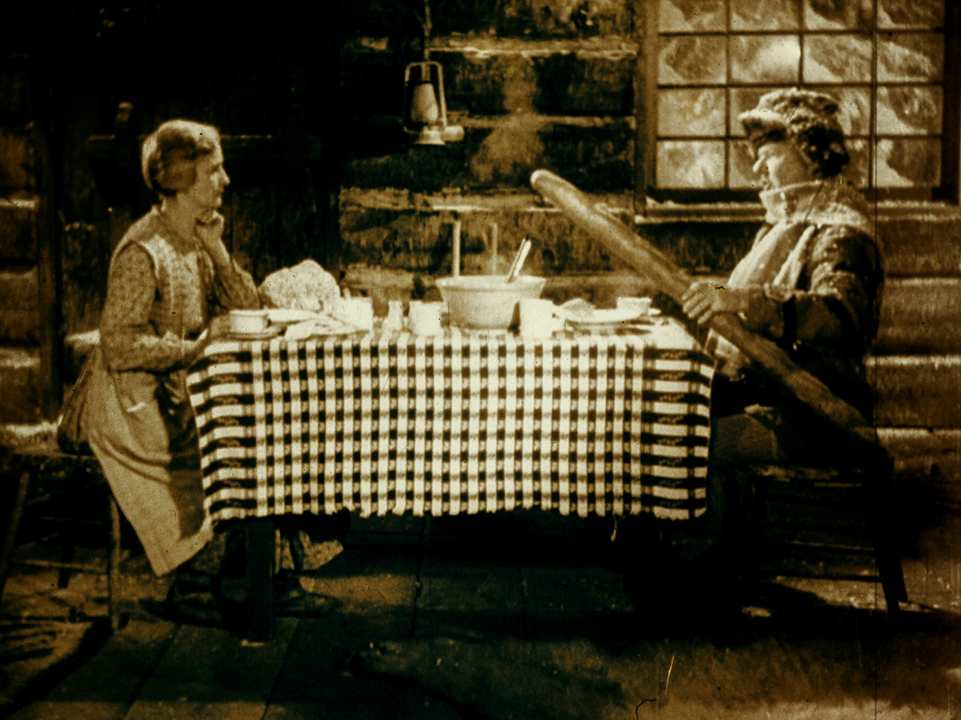
This frame simply cannot be reproduced digitally. It actually contains three-tones which subtly move across the frame in a way that only motion picture film can do justice. Because of the complexity of this toning procedure, It was difficult for the chemist to maintain a consistent image when processing by hand.
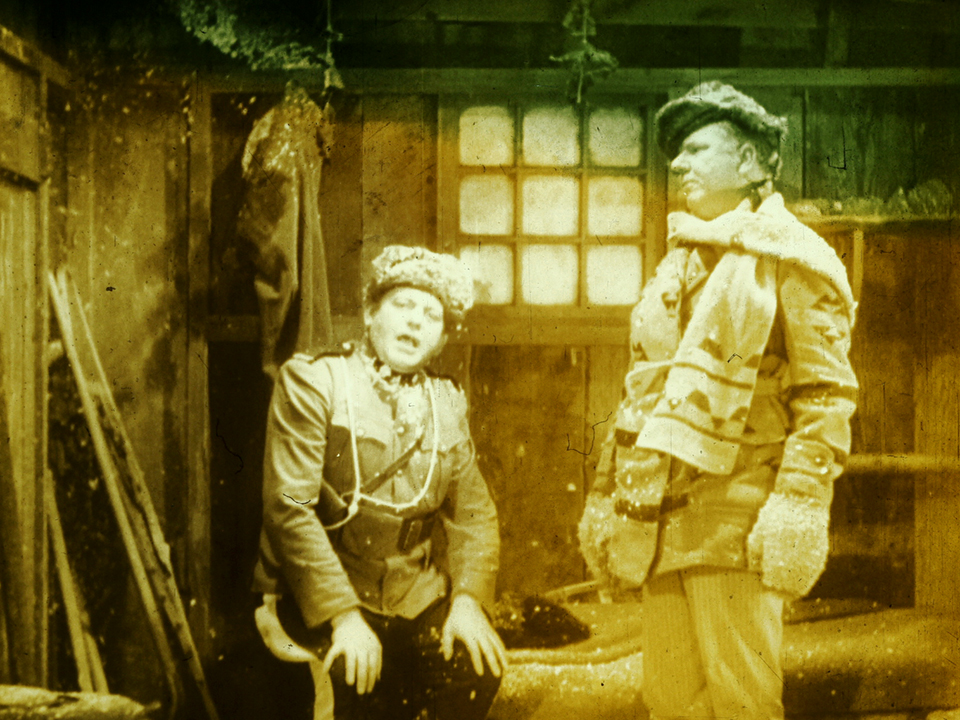
These two frames exhibit striking tones of yellow, green and blue. However, these tones are also inconsistent with the image, moving all over the frame. This could be the result of a variety of factors, but one of the most common reasons is because the emulsion has been hardened. To avoid inconsistent toning, a de-hardener (typically 3% solution of sodium carbonate) is often implemented prior to toning.
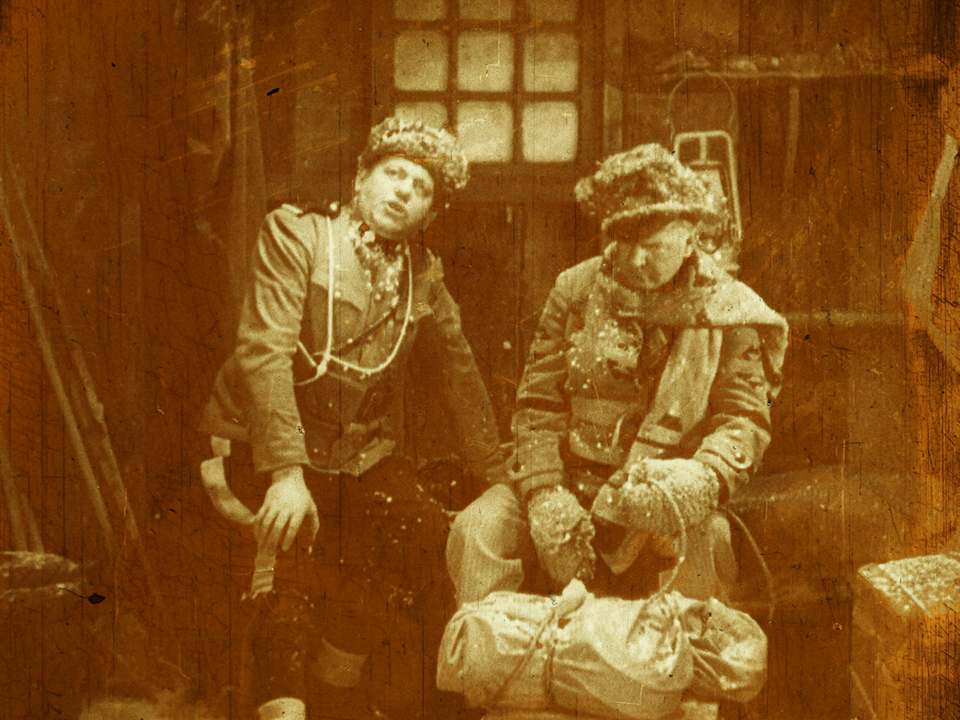
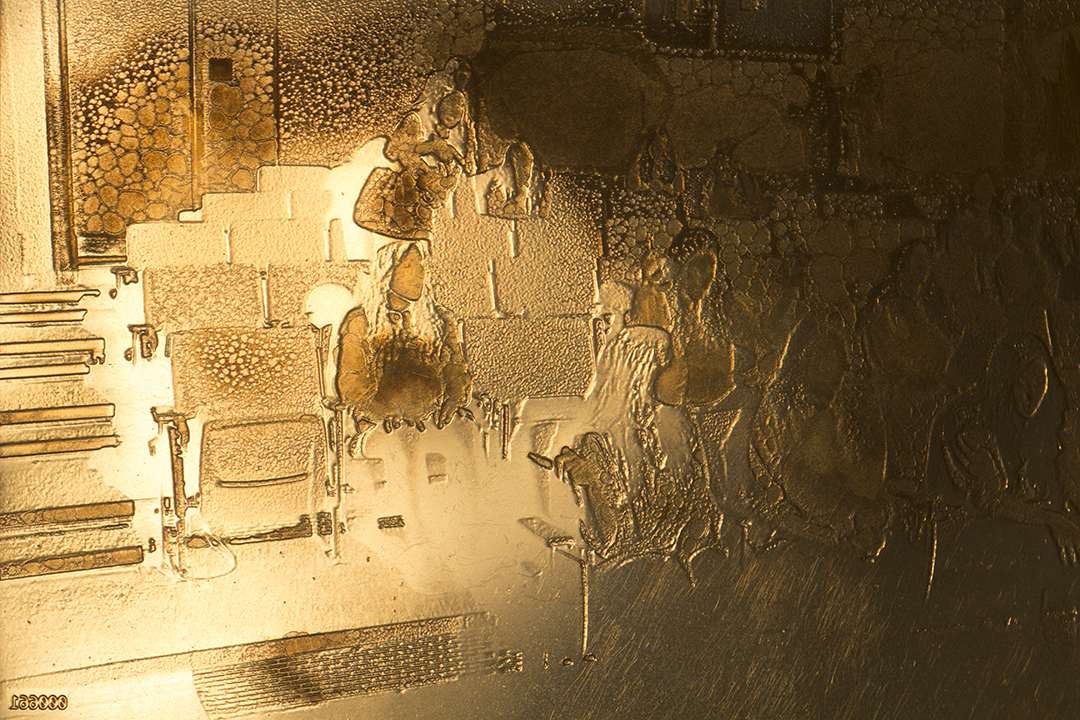
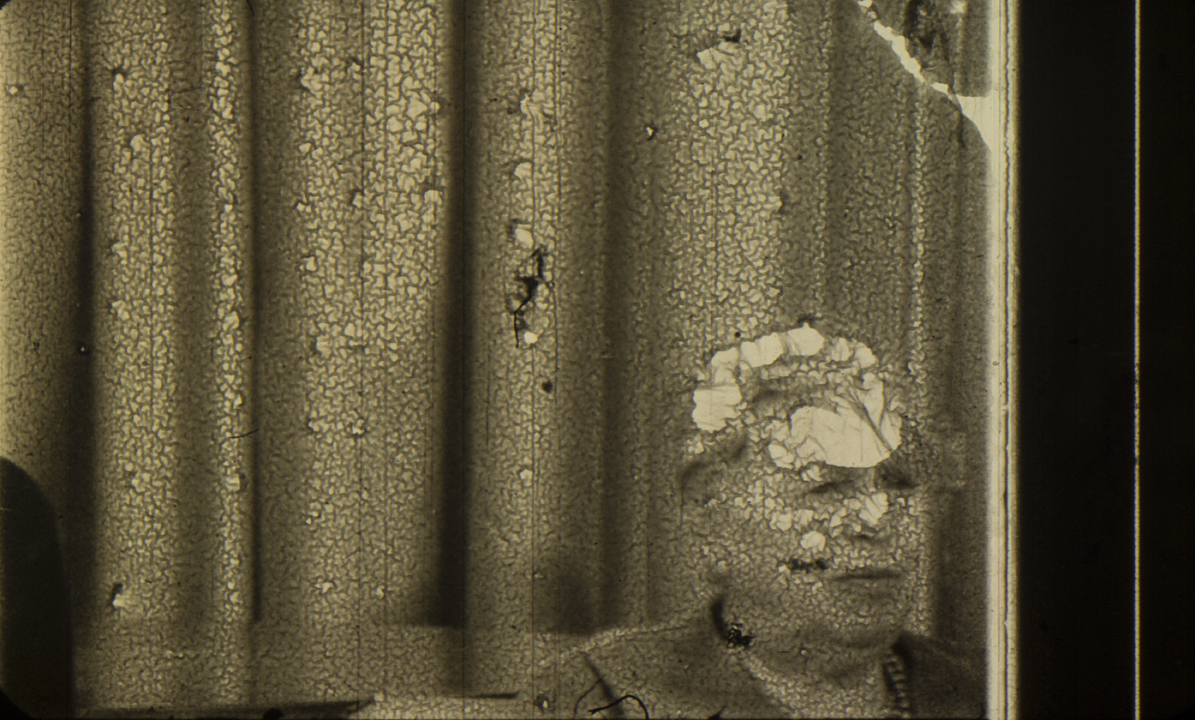
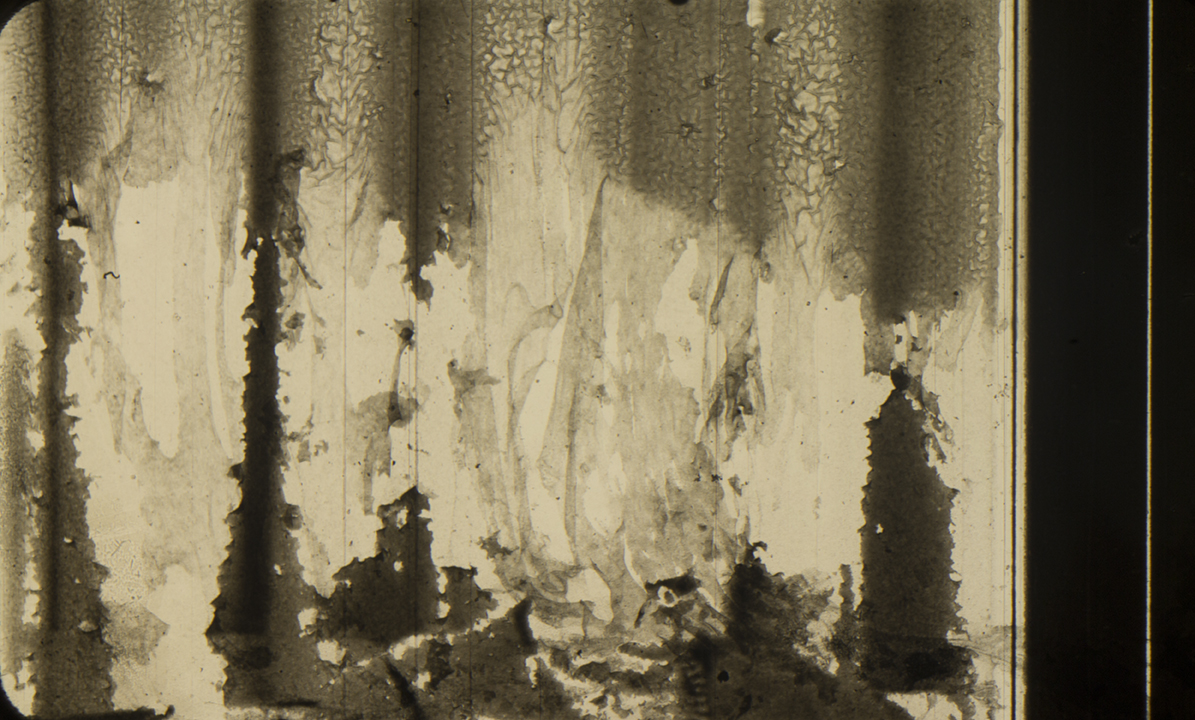
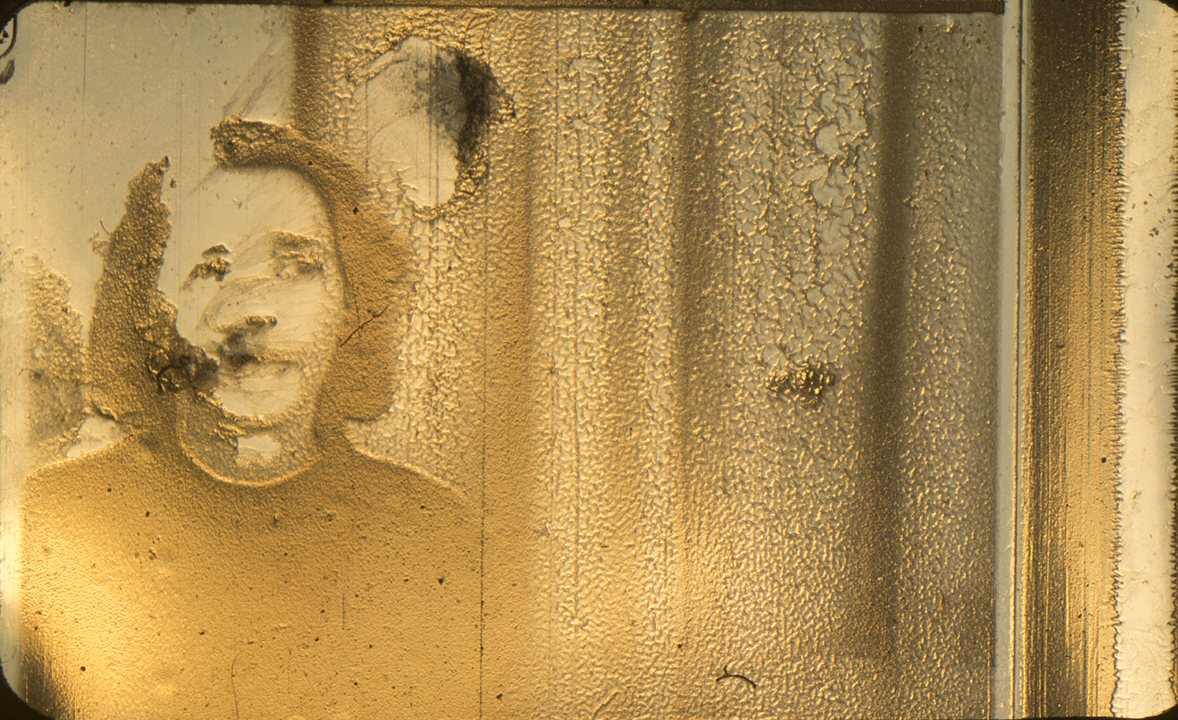
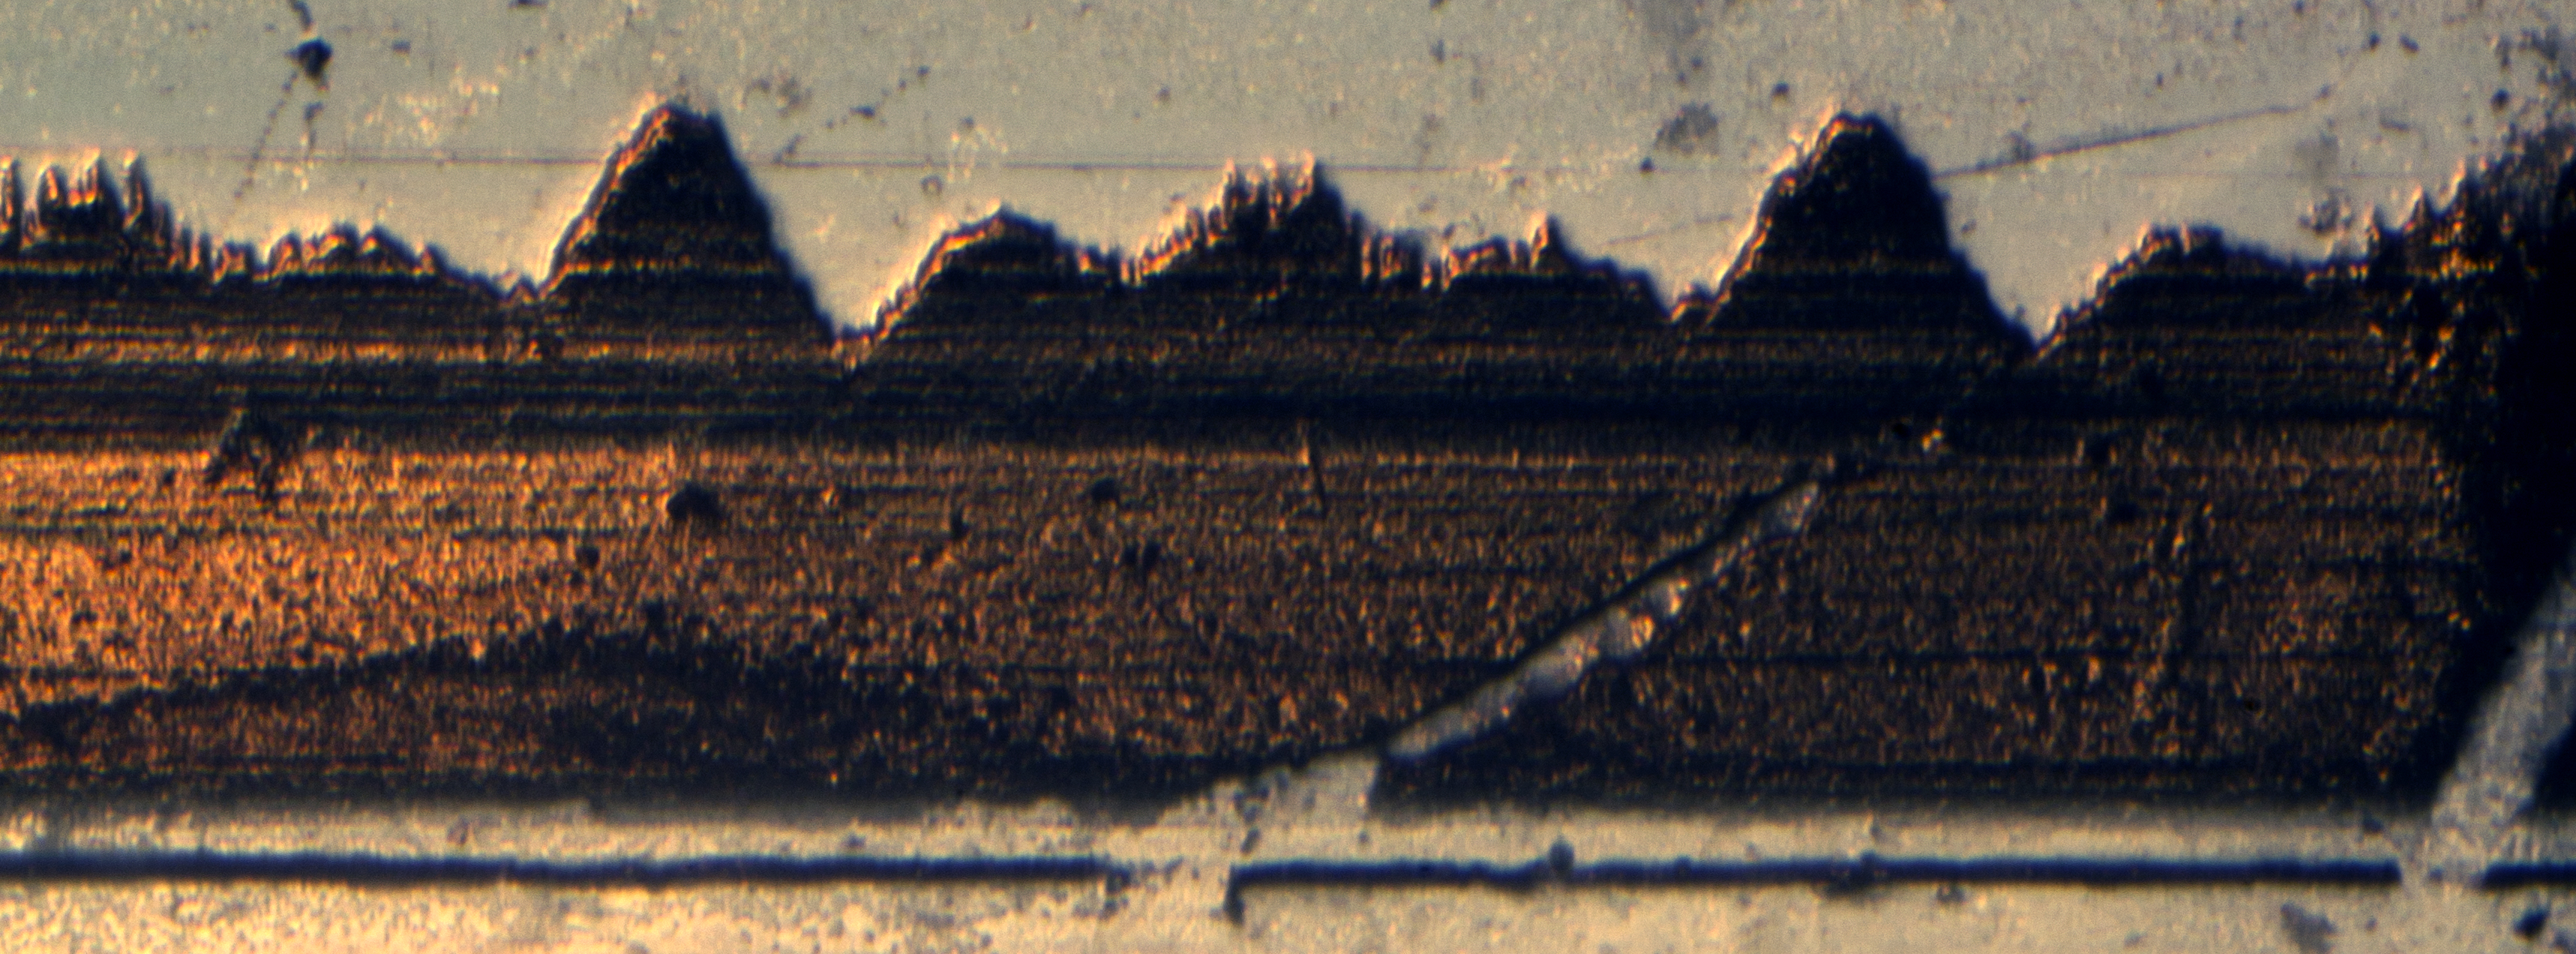
An example of excessive copper toning. Copper toners actually increase the size of the silver grain to such a dramatic extent that they “boil” to the surface of the films emulsion, altering the appearance of the gelatin itself. If the tone is strong enough (and under certain circumstances), it will actually begin to form cracks in the emulsion, as seen here.
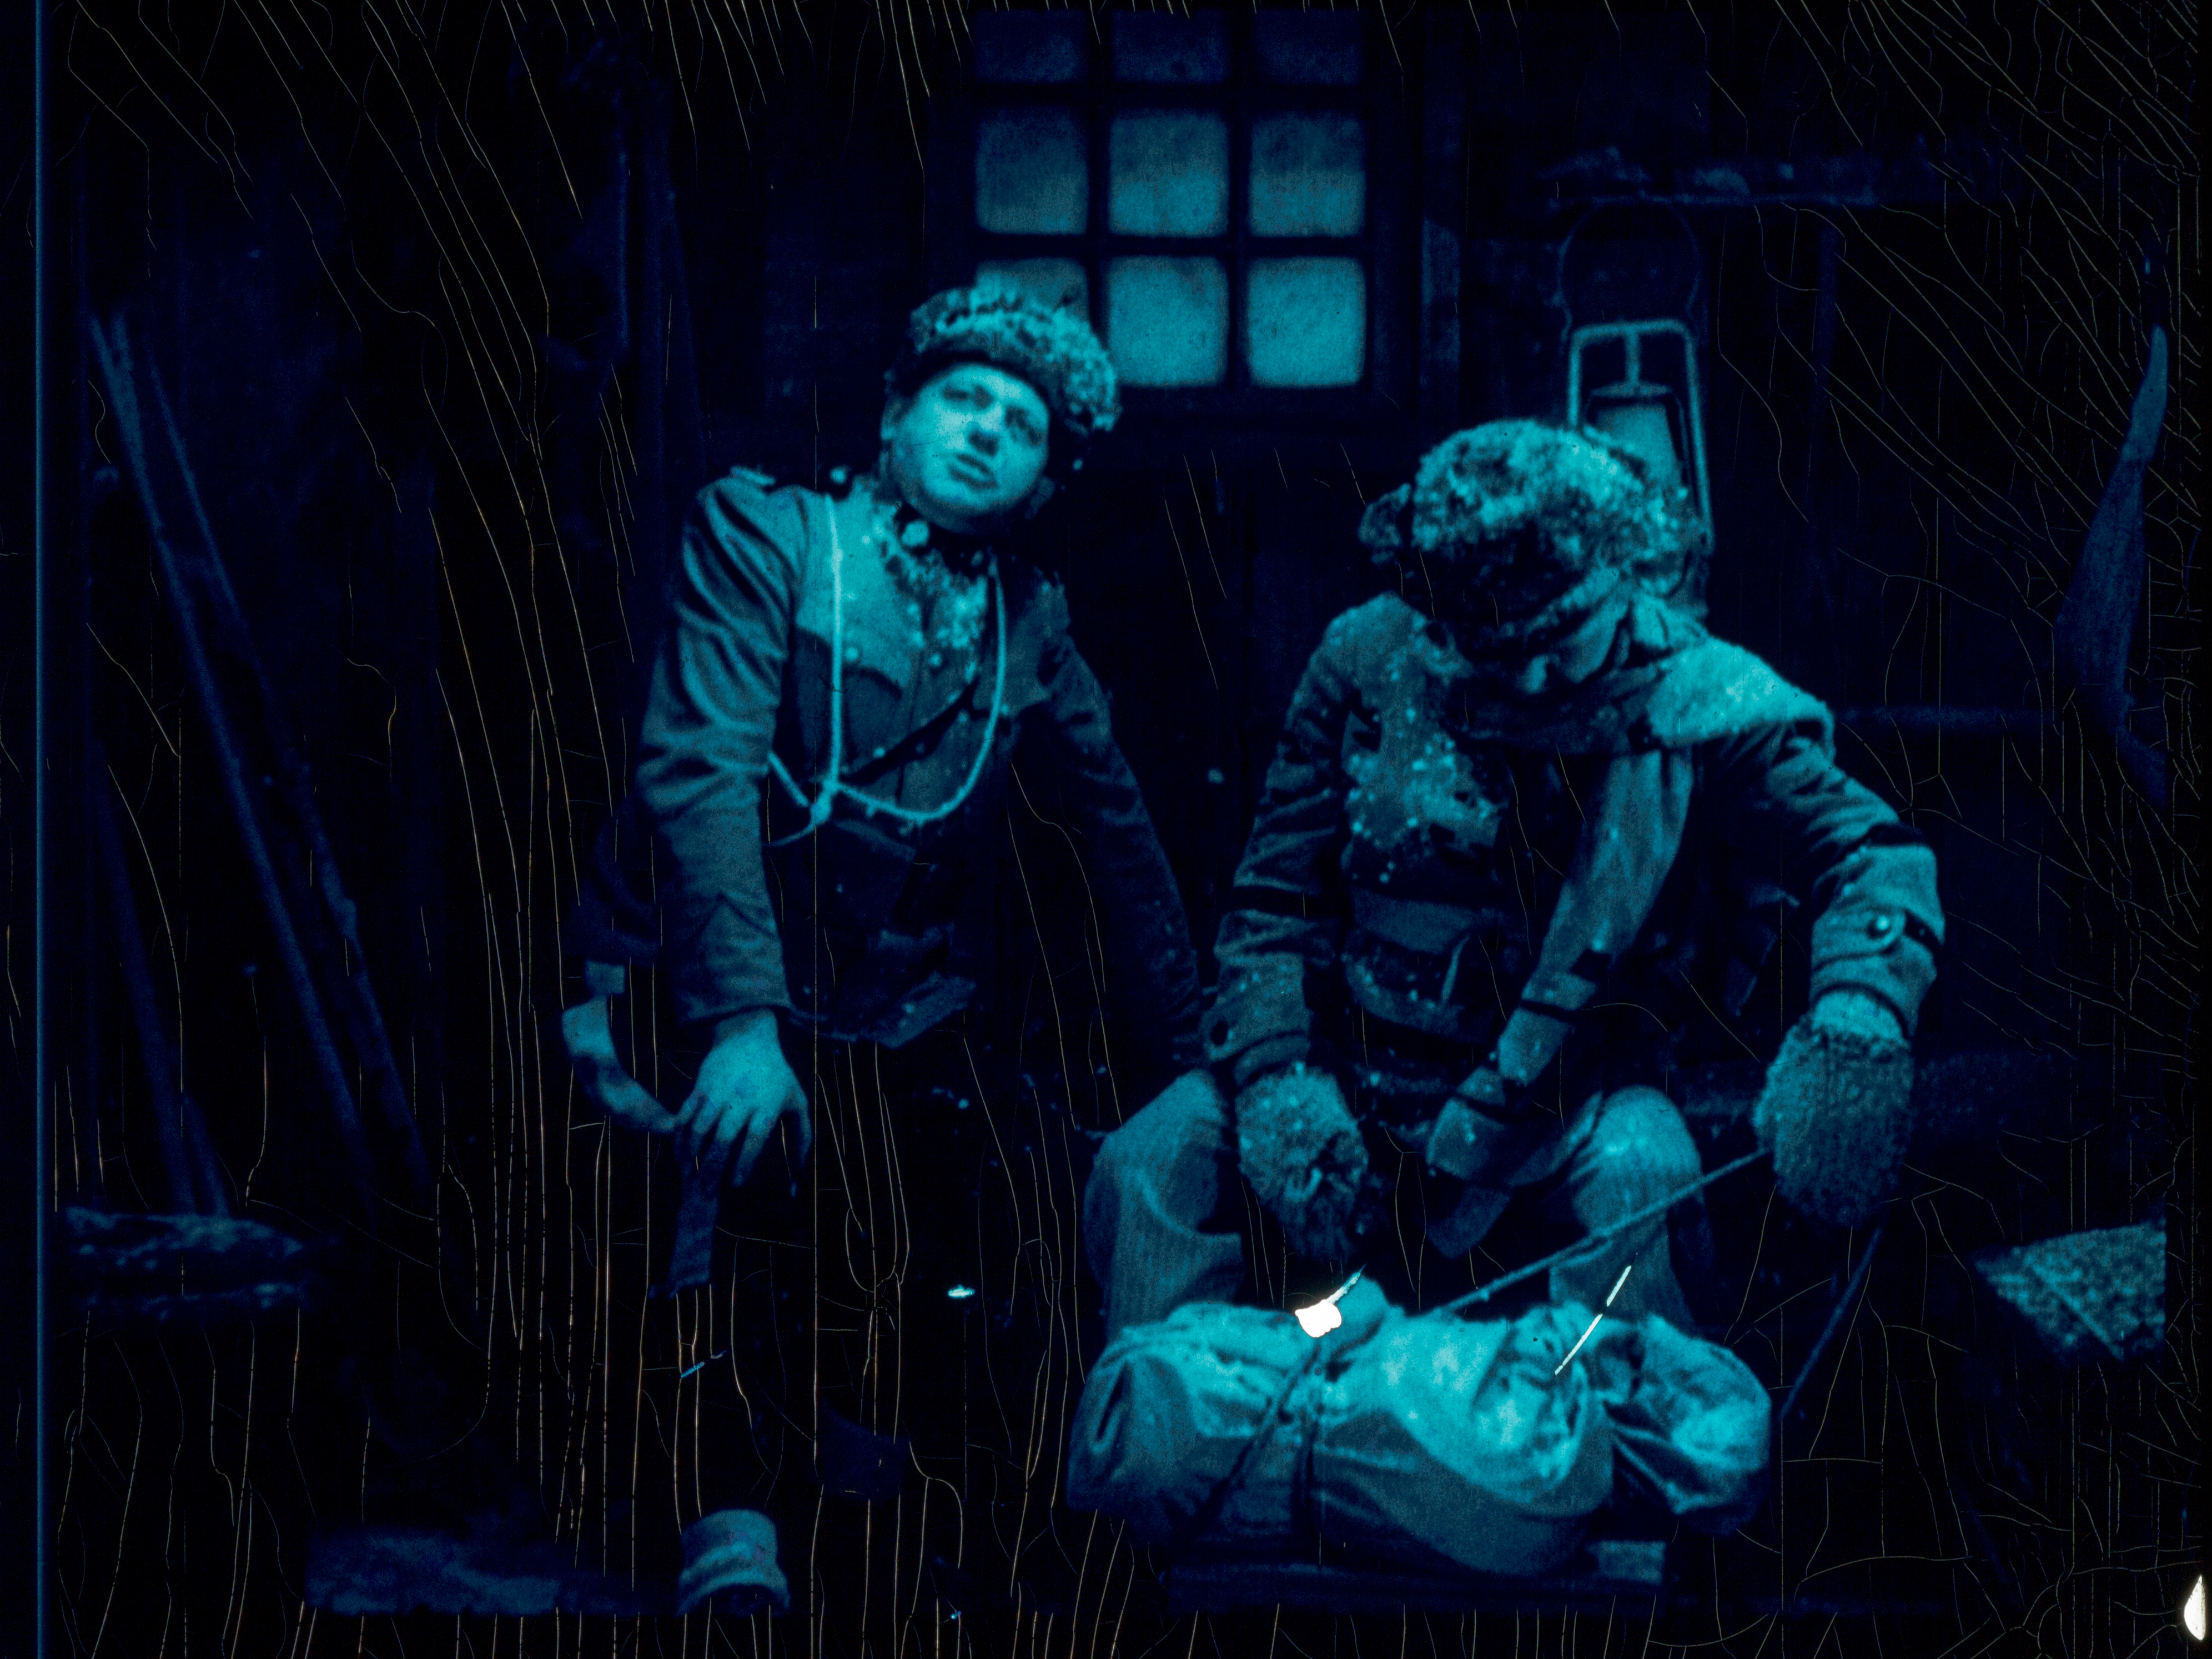
This frame was also excessively toned to the point of reticulation, but with an iron toner instead of a copper toner.

This frame appears to have been bleached (in a rehalogenating bromide bleach) and than either minimally toned or not toned at all. This is why the images D-Max (maximum density) appears so low — because it is primarily composed of silver halides (AgBr) which do not have as great of a density as fully reduced silver grains.
(Note: because the 35mm print was old and in-properly stored before we found it, there was some difficulties both projecting and transferring the film — at one point, the film was actually split in half during our transfer, leaving only half the frame registered.)


